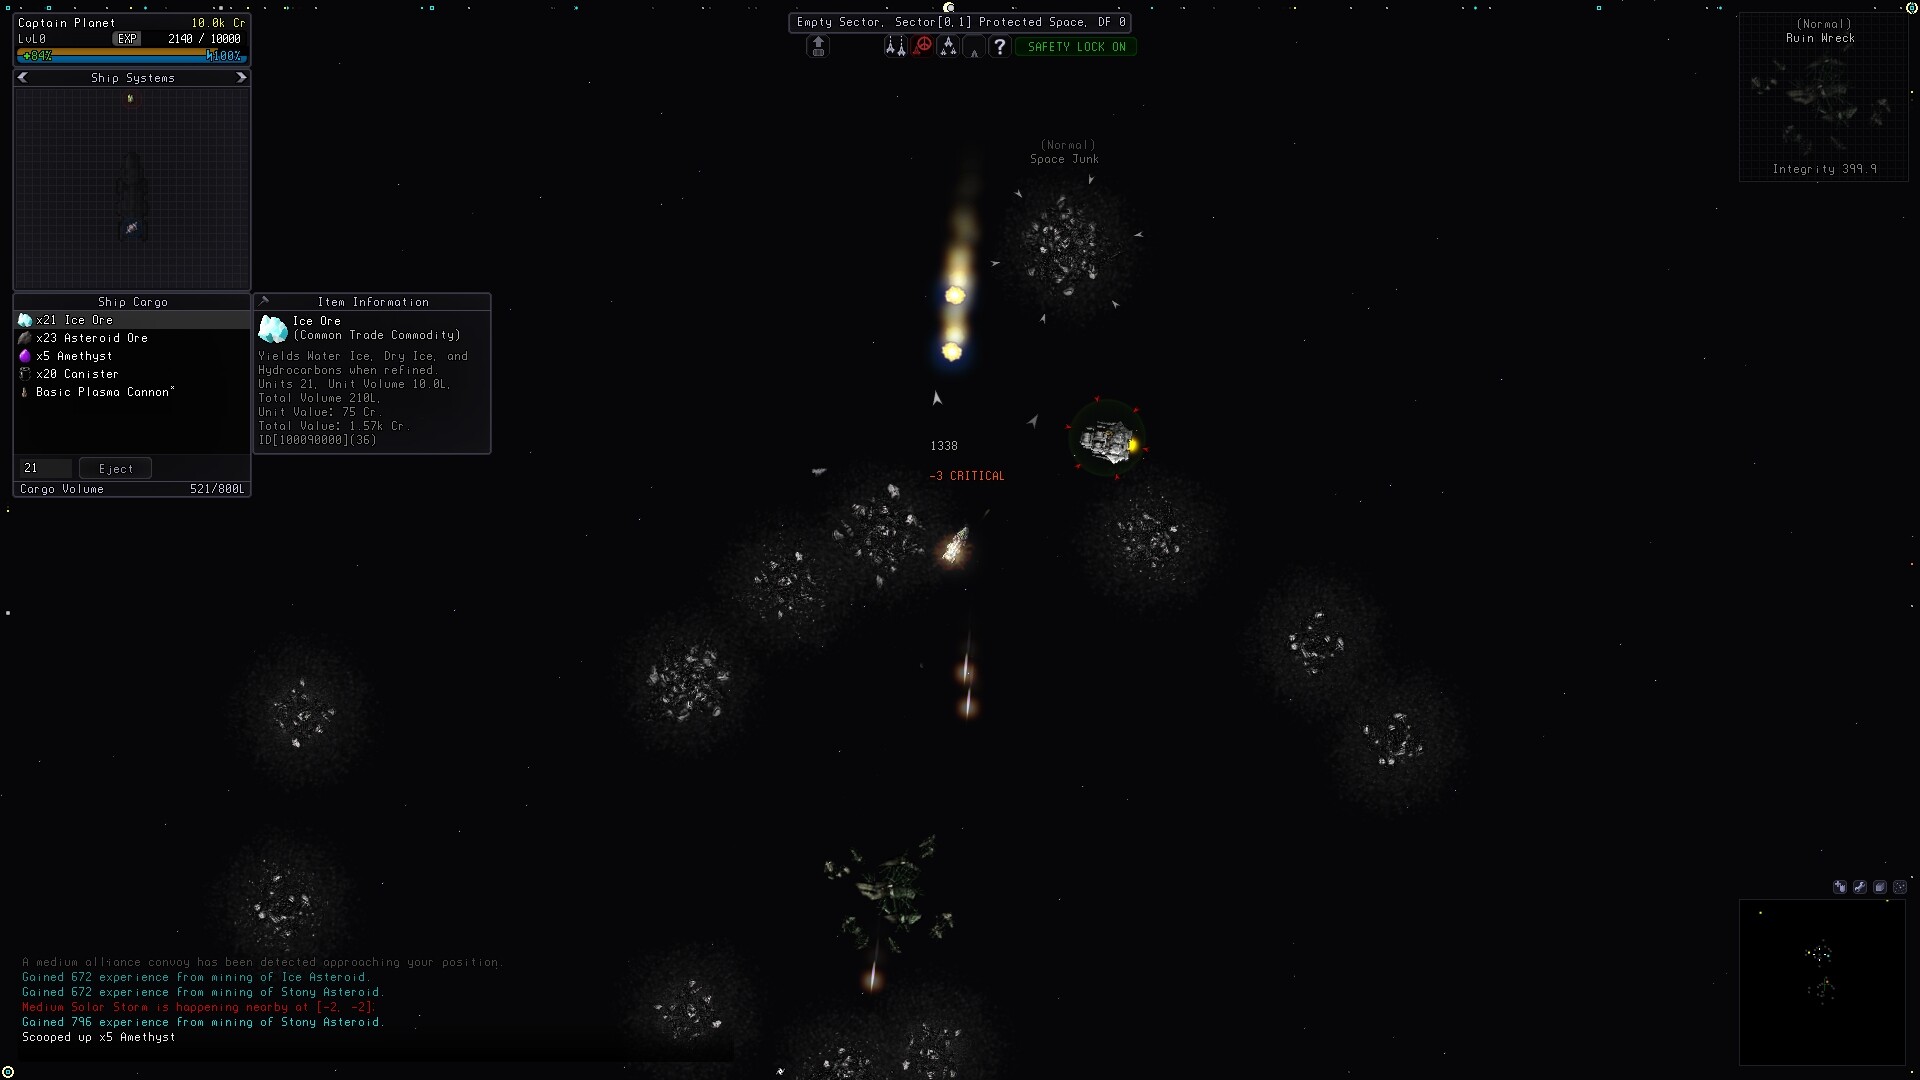
Mining in Sector Space is beam a targeted asteroid, scoop the ore, refine it into pure elements, run Factories to convert elements into intermediate products, and feed those to a Fabrication Bay with a Blueprint to produce ships or equipment. NPC markets stop around Tier 3, so Tier 4+ items must be self-crafted.
More context
The mining, weapons, and modules systems all draw from the same loop, so treating them as one pipeline is the fastest way to break into Tier 4+ gear. Stockpile elements and Blueprints before committing to a long craft.
On this page
Mine asteroids with the right beam
Mining is performed by targeting an asteroid with a mining beam and scooping the ore with the Scoop Items action (C). Mining beams are scored on Mining Power, which determines the highest tier of asteroid that can be harvested; Tier 0 beams can mine Stoney and Ice asteroids but not Comets. When a station sits near an asteroid belt, the Station Auto Miner module causes the station to immediately lock a nearby asteroid, explode it, and deposit the ore directly into station cargo; different Auto Miners have different Mining Power and Range.
Tier 3+ Asteroid Fields can spawn ring variants such as Fermium Belts or Geode Belts; bring a higher Mining Power beam or comet access before chasing them.
Level the four mining skills
Prospecting
+1.5% rare drop chance per level, +50% mining beam damage on purchase, and +1 Target Scanner Power tier against asteroids at 10+ points.
Best for: Early asteroid scan and rare rolls
Mining Power
+0.75% damage per level, +75% rare asteroid drop chance on purchase, and +1 Mining Power tier to beams at 10+ points.
Best for: Pushing the asteroid tier you can crack
Ore Recovery
+0.5% ore drop chance per level, +25% refinery yield on purchase.
Best for: More drops per asteroid run
Ore Refining
+0.5% refinery yield per level, +25% ore drop chance on purchase.
Best for: Higher yield per refined batch
The mining-to-crafting chain
Beam an asteroid
Target the asteroid, fire the mining beam, then scoop the ore.
Refine into elements
Refineries in Module slots convert raw ore into pure elements.
Run Factories
Factories turn refined elements into Intermediate Products like Matrixes and Nodes.
Use a Fabrication Bay
Feed Blueprints and intermediates to a Fabrication Bay to build ships or equipment.
Refine ore into pure elements
Refineries placed in Module slots refine raw ore into pure elements. They start at 1 Hopper, 30% efficiency, and scale up; a separate module lets you re-process waste. Slotting more efficient refineries is the cleanest single upgrade to your early game income.
Run Factories for intermediate products
Factories turn refined elements into Intermediate Products (Matrixes and Nodes). For example, a Copper Node Factory consumes 10 Copper and 2 Antimony to produce a Copper Node, and an Fe-Sn Matrix Factory consumes 10 Iron and 2 Tin to produce an Iron-Tin Matrix. Factories occupy a Module slot and run unattended until their raw material input is exhausted, so avoid running them on a stockpile you want to keep.
Use Fabrication Bays for the final product
Fabrication Bays are bought at NPC stations or constructed in the Construction menu for player stations. They accept Blueprints and produce the final ship or equipment. Each Blueprint is consumed when used, so buy multiple copies in advance; the Bay's "Use Storage" button shows what is craftable and a percentage of available material per line, and if a product fails to finish the bottom-left message lists the missing ingredient.
Blueprints currently stop at level 40 with the Complex Blueprint sets; those reveal tier 50, 60, and higher products only once the player reaches those levels. Tier 4 items and above are craftable because NPC markets currently top out around Tier 3, and crafting becomes necessary for end-game equipment because NPCs never sell the top-tier ammo and components.
Read the six weapon categories
Plasma Cannons
Balanced PH/EM, shortest range; crit stops armor regen for 4 seconds at 10% chance.
Best for: General short-range skirmishes
Missiles
Lowest energy cost, longest range, slowest rate of fire; crit stops shield regen for 4 seconds at 5%, and higher tiers fire volleys consuming multiple missiles unless the Infiltrator class or the Missile Specialization skill overrides this.
Best for: Long-range volleys and shield breaks
Lasers
Extreme EM, second-fastest ROF tied with Disruptors and Gauss; crit bypasses shields at 10%.
Best for: EM-heavy targets with shields up
Disruptors
Heavy EM, high ROF, second-worst range; crit reduces target ROF by 50% for 4 seconds at 10%.
Best for: Slowing fast opponents
Gauss/Rail Guns
Heavy PH, high ROF, mid range; crit slows target by 50% for 4 seconds at 10%; consume ammo.
Best for: PH damage and ammo-driven sustained fights
Use modifiers to push stats
| Modifier | Key bonuses | Best slot fit |
|---|---|---|
Assassin's | +3% crit damage, +3% weapon accuracy, +10 Cloak Power. | Cloaking device or crit weapon |
Ascended | +5% armor, +6% weapon damage, +5% crit chance, +5% ROF, +50 armor repair, +0.5 armor soak, +50 weapon range, +5% cloak power. | Late-game all-rounder |
Eternal | +500 armor, +500 shield, +2.5% energy charge, +2.5% shield regen, +2.5% armor repair, +15 hull repair, +1 shield soak, +1 armor soak. | Defensive module or shield slot |
Infiltrator's | +4% ROF, +4% crit damage, +25 Energy Charge, +275 Energy Capacity, +15 Cloak Power. | Energy-hungry weapon slot |
Lucky | +4% Critical Strike Chance. | Any crit-focused weapon |
Sniper's | +2% weapon damage, +25 weapon range, +3% cloak evasion. | Long-range weapon |