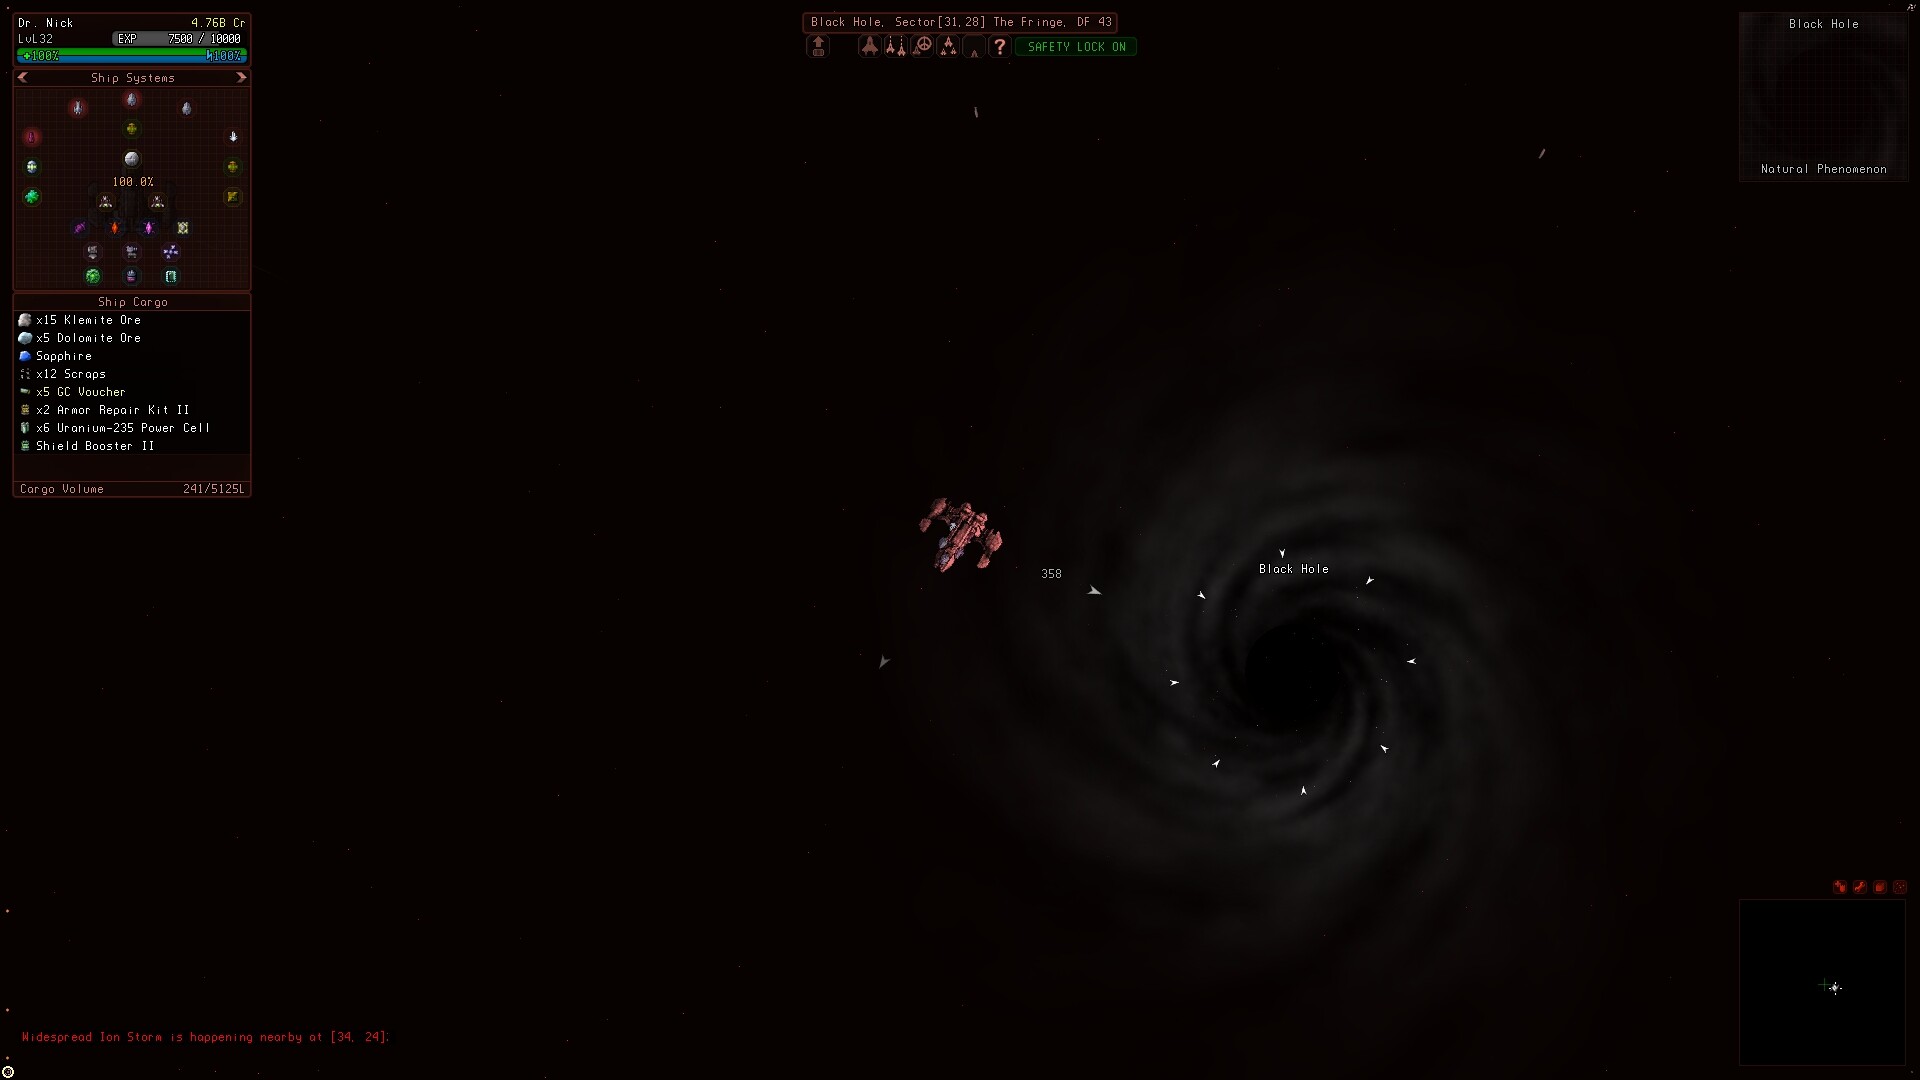
Travel in Sector Space is continuous, one sector at a time, with three long-range options: Jump Drives (about 5 seconds, blocked by Mass), Player Gateways (about 3 seconds, paired for return trips), and Wormholes (paired during world generation). Sector Tier ranges from T0 at low Danger Factor near Origin to T6 at DF 88+ in the Deep Void.
More context
Plan a long-haul route with Player Gateways in pairs so you have a return path before you commit. Hostile, Anomalous, and Dungeon sectors roll in fixed percentages during world generation, so wormhole placement and weather effects follow that map.
On this page
How the Sector Space galaxy is generated
Each save represents a single procedurally generated galaxy drawn from the world name as a Unicode seed. Generation paints the whole grid as Void, then layers 2-4 Hostile or Fringe spiral arms, inserts Neutral or Protected regions inside the arms, places four Void corner clusters plus the Jungle, Desert, and Tundra biome pockets, converts some sectors to Anomalous or Dungeon at 3% (more in the Void), places nebulas and named star systems, and finally places asteroid fields, rings, anomaly and dungeon sectors, mobs and bosses, black holes, wormholes, and the fixed Origin, Haven, and New Hope hub systems. Sectors measure 8000 by 8000 units.
Sector Tier and Danger Factor
| Sector Tier | Danger Factor band |
|---|---|
T0 | DF 0-14 |
T1 | DF 15-29 |
T2 | DF 30-43 |
T3 | DF 44-58 |
T4 | DF 59-73 |
T5 | DF 74-87 |
T6 | DF 88+ |
How Danger Factor is computed
DF is computed as distance-from-Origin-scaled-by-galaxy-size plus a region modifier (-1 Protected, +0 default, +1 Hostile, +2 Fringe, +3 Anomalous or Dungeon), with the result clamped to a minimum of 0. The galaxy becomes more dangerous the further you fly from Origin. Loot quality and drops scale with Sector Tier.
Travel continuously sector by sector
Jump Drives
Require the ship not be next to an object with Mass (planets, asteroids, and stations block them; other ships and player gateways do not). A Jump Drive takes about 5 seconds to use.
Best for: Mid-range trips with clear line of sight
Player Gateways
A gateway can be dropped almost anywhere and acts one-way until a return gateway is dropped. A gateway costs about 3 seconds to use, faster than a Jump Drive.
Best for: Paired return trips between two systems
Wormholes
Paired during world generation; using one teleports you to its partner. Black Holes (only on Empty sectors, paired automatically with a wormhole) take you to random places, so treat them as last-resort travel.
Best for: Long-haul jumps generated by the seed
Recognize region types
Beyond the galaxy grid lies the Deep Void, where travel is possible but stations cannot be deployed. The named regions are:
- Protected Space: police presence; the safest place to dock.
- Neutral Space: inside the spiral arms; mixed encounters.
- Hostile Space: more aggressive factions than Neutral.
- The Fringe: transition around hostile regions; mixes of Hostile and Void encounters.
- The Void: default outside the spirals; sparsely populated, heavy wormhole traffic.
- Anomalous Space: 3% of Hostile/Neutral sectors, 13% of Void sectors; tied to higher-tier loot.
- Dark Space: Dungeon region; high-tier loot with hard encounters.
- The Jungle, The Desert, The Tundra: biome pockets added in 0.6.
- The Deep Void: outside the galaxy grid; stations cannot be deployed.
Find exploration objects
Sector types include Empty Sector, Star System (chance rolls per region), Nebula (region-weighted; nebula with star is a separate subtype), Asteroid Field (whole-sector or rings around stars; rings become rare Fermium Belts or Geode Belts at Tier 3+), Black Hole, Ancient Ruins (33% spawn on Empty sectors in Anomalous regions), and Space Dungeon (50% spawn on Empty sectors in Dungeon regions).
Exploration objects in many sectors include Rogue Planets, Spider Nests (Void/Fringe/Hostile only), cargo containers, rare wrecks (Void only), Comets, Rogue Drones (drone tier matches sector tier), Infected Asteroid Clusters (Anomalous Empty/Asteroid sectors only), and junk clusters.
Galaxy-wide weather events
| Weather | Effect | Note |
|---|---|---|
Solar Flare (Minor/Major/Strong/Powerful) | 50% per-check chance of damage equal to 2.5% of max hull integrity (cap 500, +/-50 variance) to ships within 1000 units of a sun. | Inside Star System sectors |
Solar Storm | Damage scales roughly 1:1 with the star's Lumen Power. | A Sun Scanner reveals the value to dodge or exploit |
Ion Storm | Runs about 100-140 seconds across a 2-3 sector radius, applies a constant 25% speed reduction and ~1-in-3 per check to take damage equal to 10% of max shield strength. | Cannot occur with stars or nebulas (Shard and Abyssal Horror hulls are immune) |
Micrometeoroid Shower | 20-40 seconds across 1-3 sectors; 2.5% of max hull integrity (cap 500, +/-50) to random ships. | Stacks with Ion Storm |
Dark Matter Storm | ~100-140 seconds across 2-3 sectors; 1-in-3 per check to lose 10% of max energy capacity. | Stacks with Ion Storm |
Void Storm | Only appears in the outer sectors; visually drains reactor energy without doing lethal damage. | Visual drain only |
Use wormhole placement to your advantage
Wormholes are placed mainly in Fringe (25%), Hostile (20%), Neutral (15%), and Void (10%) regions, while Anomalous, Dungeon, Jungle, Desert, and Tundra all roll at 5% and Protected/Deep Void at 0%. Each pair links to another wormhole. Travel the Fringe-Hostile border first if you want wormholes on demand; the Void offers them most often, just farther from Origin.